Introduction
Incident Management is a structured process designed to restore normal service operations quickly while minimizing business impact. This process manages the entire lifecycle of incidents, ensuring that service quality aligns with the defined Service Level Agreements (SLAs).
What is an Incident?
An incident refers to any unplanned disruption or degradation of service, reported either by monitoring applications or user queries that require intervention. The goal of incident management is to quickly diagnose, resolve, and restore services, preventing further impact on business operations.
Even if a service is not yet affected, the failure of a component that could lead to service disruption is also considered an incident.
Examples of Incidents
- High CPU utilization on a server, which could impact performance.
- Failure of a server or disk, causing system downtime.
- Network connectivity issues affecting user access.
By efficiently managing incidents, organizations can reduce downtime, maintain service continuity, and improve overall IT stability.
Configure Incident Settings
Personalize incident tracking by adding organization-specific fields.
Navigate to Setup > Account > Service Desk.The Settings page is displayed.
From the top navigation tabs, select Incident.

Under INCIDENT settings, configure the desired property settings.
Click SAVE to apply the changes.
Create an Incident
Incidents can be logged through different methods: Service Desk, Email, or directly from an Alert.
Create an Incident from the Service Desk
Manually log an incident with detailed attributes for better tracking.
Go to Command Center > Tickets.
Click the Add + button and select Incident.The ADD INCIDENT page is displayed.

Fill in the required details:
| Field name | Description |
|---|---|
| Subject | Title or summary of the incident. |
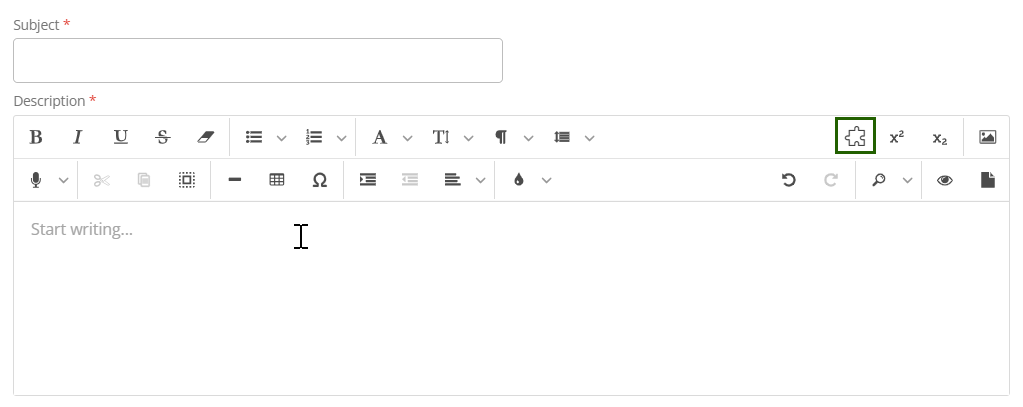
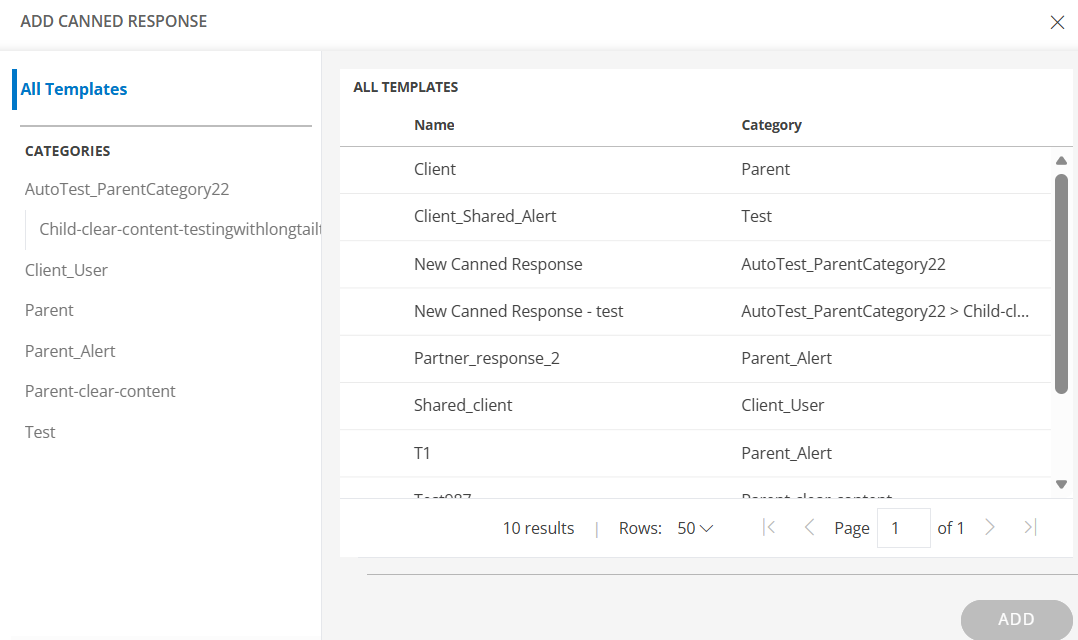
| Description | The information required to describe the Incident scenario. This can include the actual behavior, expected behavior, steps to reproduce the issue etc.You can also use the Canned Response option to quickly insert predefined, categorized response templates. Click the Canned Response icon to view the available categories, select a template, and the content will be automatically added to the Description field.
  |
| Requested By | User who requests incident. |
| Assignee Group | User group that manages incident. |
| Assign to | User who acts on incident. |
| Resources | Devices on which the Incident is identified. |
| Category | Category to which the Incident is mapped. |
| Sub Category | Sub-category under the category to which the Incident is mapped. |
| Business Impact | Severity of the incident on the business. |
| Category | Category to which the Incident is mapped. |
| Urgency | Urgency of the incident on the business. |
| Priority | Measure of how soon the Incident needs to be resolved. |
| Due date | Expected date to resolve the Incident. |
| Link Problem/Change Request | Link an existing Problem or Change Request that corresponds to the incident. |
| Knowledge Articles | Link the KB articles to the incident. |
| Link Incident | EmaLink an existing incident. |
| To | Email addresses of the users who need to act on the incident. |
| Cc | Email addresses of the users who need to be copied in the email notification. |
| Attach Service Requests | You can attach available service requests. |
| Notify Roster | Select a Roster to send the notification to a group of users who are working in the selected shift. |
- Click ADD INCIDENT to create an incident.
Create an Incident via Email
Convert incoming emails into incidents automatically.
- Navigate to Setup > Account > Integrations.
- See Email Requests for more details on configuring Email Requests for incidents.
Create an Incident from an Alert
Quickly generate an incident from a triggered alert.
Navigate to Command Center > Alerts.
Select an alert.
Click Create Incident on the alert details page.The ADD INCIDENT page is displayed.

Enter the incident details.
Click ADD INCIDENT to log the incident.
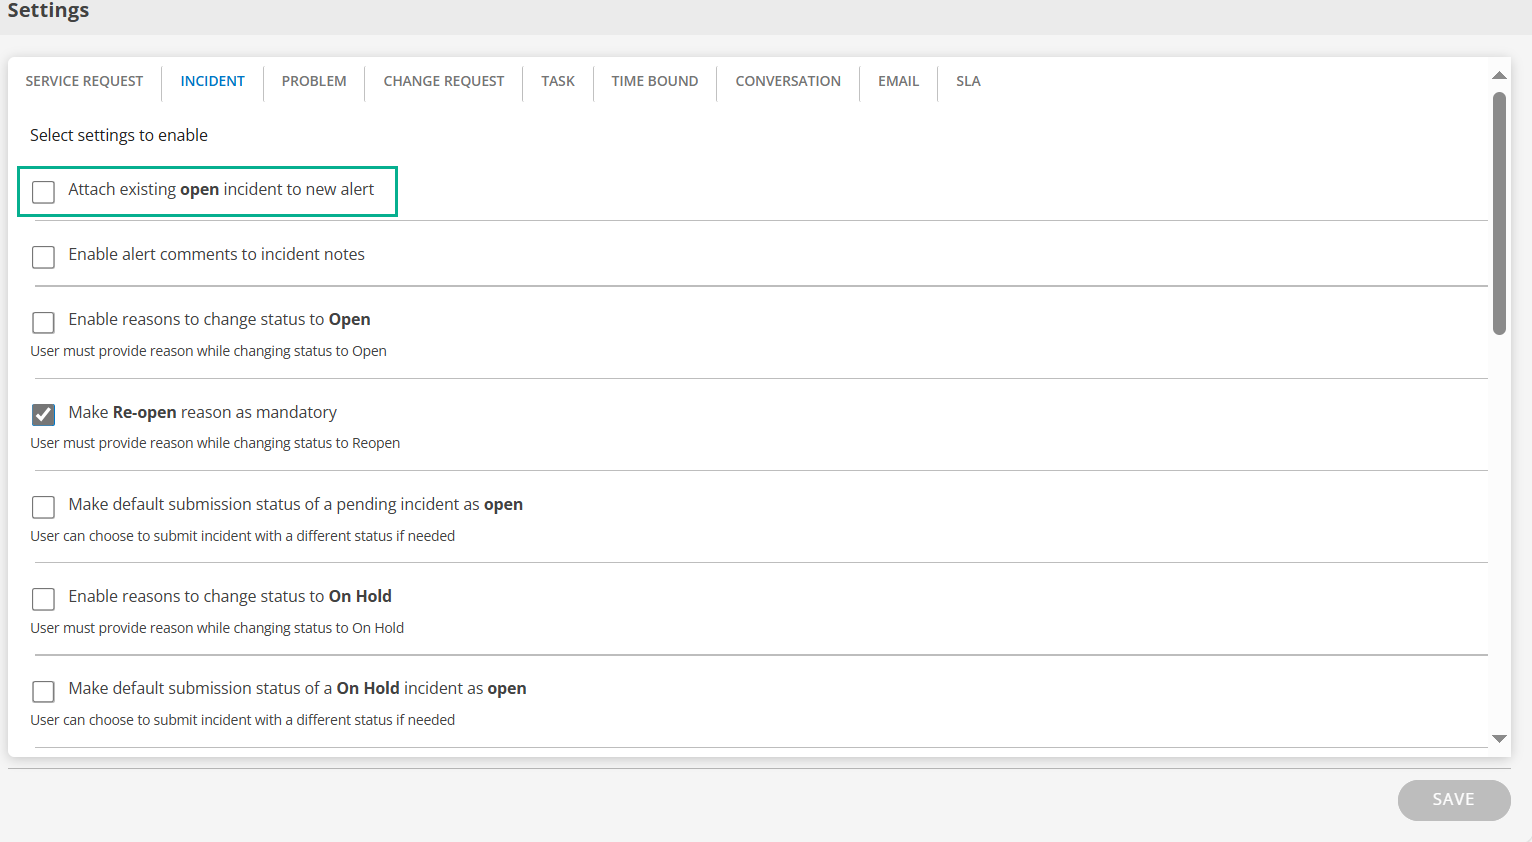
Make existing open incidents to new alert
If an incident has already been created for a previous alert and is still in an Open state, enabling this option will link the existing incident to the new alert instead of generating a new incident.
To activate this feature, navigate to Setup > Account > Service Desk and enable the Attach existing open incident to new alert.
PrerequisiteUsers should have ALERTS_MANAGE, INCIDENT_MANAGE, SERVICEDESK_MANAGE, and OPSQL_MANAGE permissions.
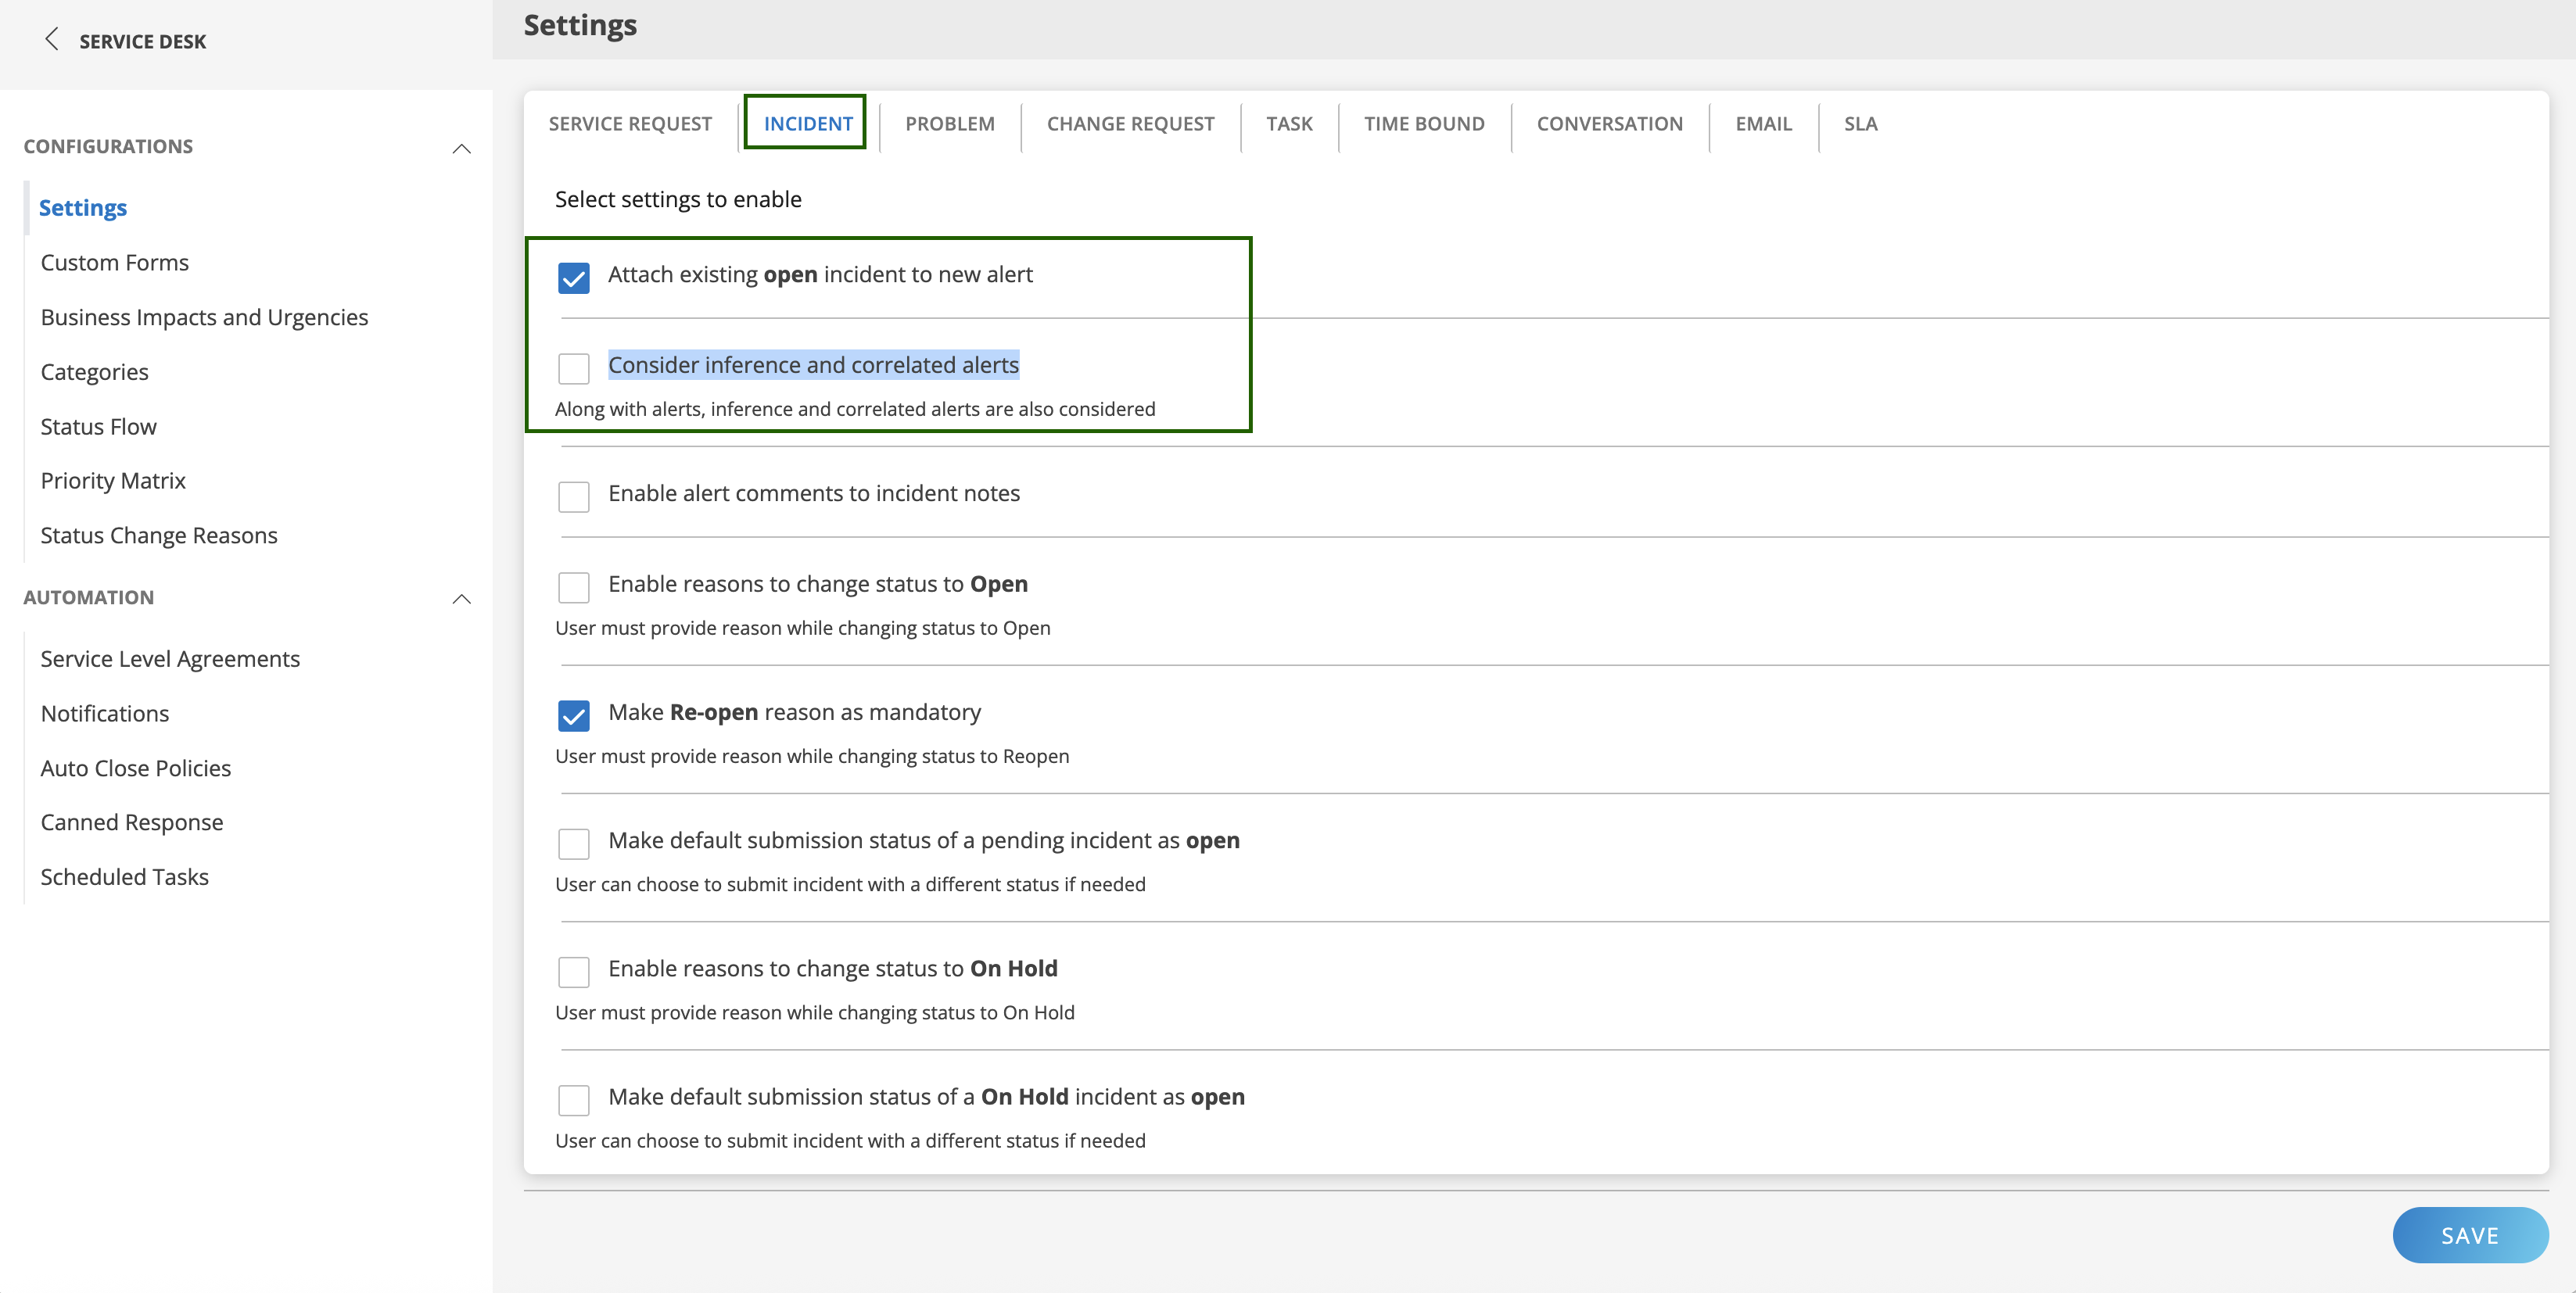
Make open incidents to inference alerts
If an incident has already been created for a previous inference alert and is still in an Open state, enabling this option will link the existing incident to the new inference or correlated alert instead of generating a new incident.
To activate this feature, navigate to Setup > Account > Service Desk and enable the Attach existing open incident to new alert. This setting becomes visible only when you enable the Attach existing open incident to new alert checkbox.
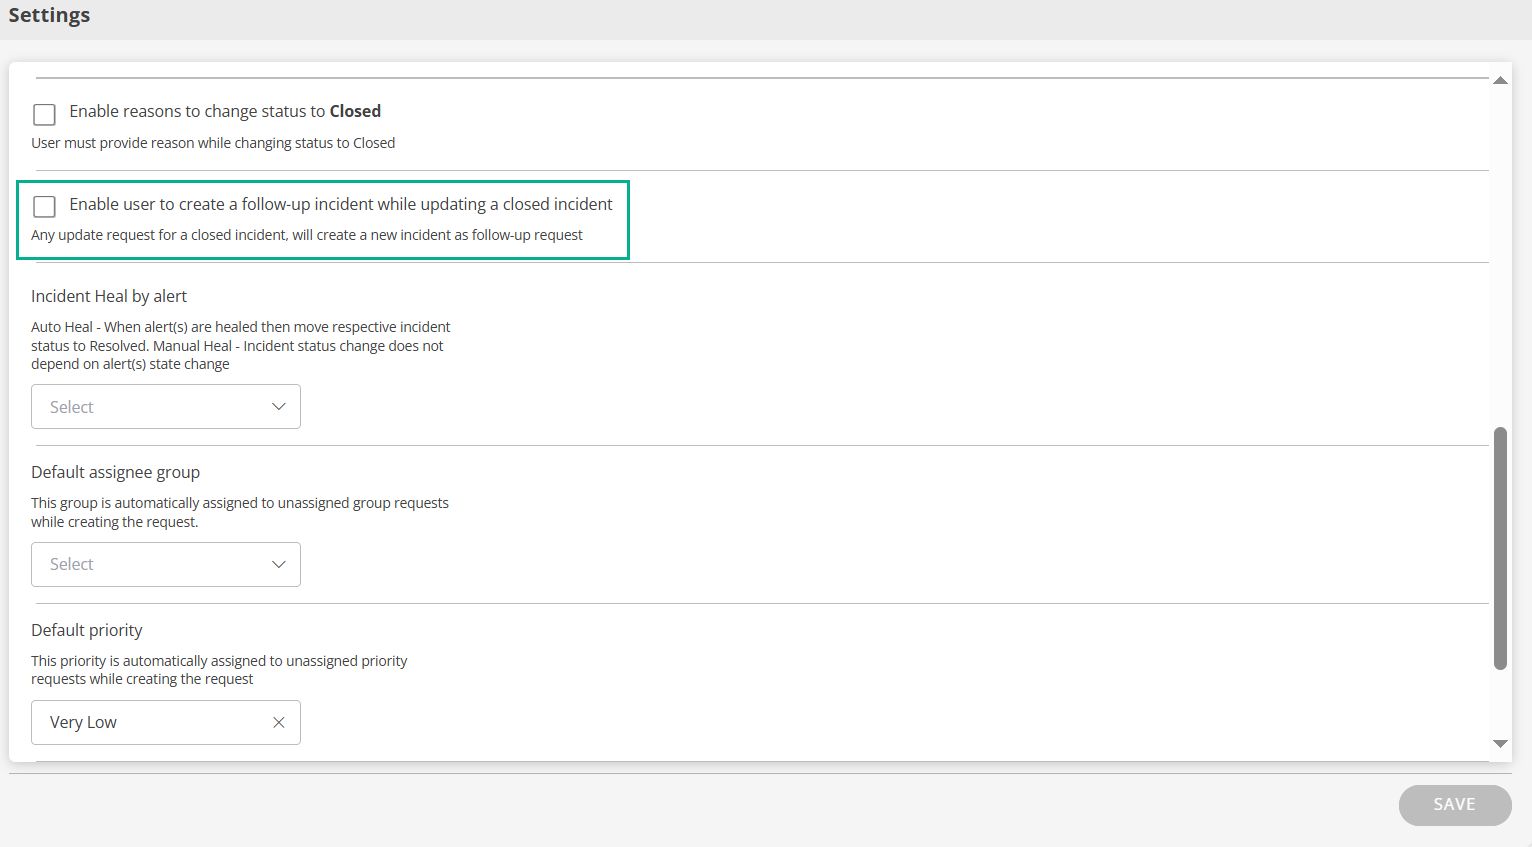
Create a Follow-Up Incident
You can reopen a closed incident or report a similar issue.
Prerequisite
To view the Create Follow-up option, navigate to Setup > Account > Service Desk and enable the Enable user to create a follow-up incident while updating a closed incident setting on the incident Settings page.
Create Follow-up Incident in Tickets
Navigate to Command Center > Tickets and select a closed incident.
Click ADD FOLLOW UP.The follow-up incident is created successfully.

View Incidents
Access and review incident details and track their progress.
The incident page displays the following attributes:
| Attributes | Description |
|---|---|
| Status | Indicates the current state of the incident, such as Open, In Progress, Resolved, or Closed. |
| Subject | A summary or title that describes the incident. |
| Requested On | The date and time when the incident were created or reported. |
| Time To First Response | The time taken from the incident creation to the first response by an assigned user or team. |
| Time To Resolution | The total duration from the incident's creation to its resolution or closure. |
| Alerts | Displays any associated alerts that are triggered or linked to the incident for better issue tracking. |
| Incident Properties | Contains key details such as priority, severity, assigned users, and related assets to manage the incident effectively. |
| Incident Configurations | Settings and rules that define how incidents are handled. |
The incident page displays the following tabs:
| Tabs | Description |
|---|---|
| Activity | User activities on incident. The Activity tab includes the log, conversation, status, and notes related to the incident.
|
| Resources | The resources on which the incident is identified. |
| Articles | A section where you can view related knowledge base (KB) articles or add a new article. |
| Attached Requests | This section allows you to view any attached service requests or incidents, as well as the option to add a new one. |
| Integration Log | A log that contains inbound and outbound third-party communication details. |
Edit an incident
You can modify incident details or update multiple incidents at once.
Edit a Single Incident
- Navigate to Command Center > Tickets and select an incident that you want to modify.
- You can either click on the incident ID to modify the details and save them or select Edit from the Actions dropdown menu to make changes to the details.
Bulk Edit Incidents
On the Tickets page, select the multiple incidents for which you want to perform a bulk update.
Click BULK UPDATE.The Update Actions page is displayed.

Make the necessary changes and click SAVE.
Associate Incidents with Other Entities
Link an Incident to a Problem or Change Request
Link an incident to a problem, change request, or another incident while creating or editing the incident.
To link an incident:
Navigate to Command Center > Tickets.
Click Incident ID.
In the right-side pane of the Incident Details page, click Link Problem / Change Request or Link Incident:

Click Problem / Change Request to open the Service Change Request window.

Click Link Incident to open the Select Incident window.
- Select the required Request ID and click SAVE.The entity is attached to the incident.
Link a new Incident / Service Request
Navigate to Command Center > Tickets.
Click Incident ID.
On the incident details page, select the ATTACHED REQUESTS tab.

Click + ADD to add a new incident or service request.The Attached Requests page is displayed.

Select the request ID you want to add and click SAVE.
Convert Incident to Service Request
Convert an incident into a service request to ensure proper categorization and handling based on the request type.
Navigate to Command Center > Tickets.
Click Incident ID.
On the incident details page, select CONVERT TO SR.

The incident will be converted into a service request.
Close an Incident
Configure Auto-Close Policies to close Incidents that are resolved and that are in an inactive state since a certain elapsed time.
Navigate to Setup > Account > Service Desk.
In the left navigation pane, navigate to the Automation section and select Auto Close Policies.The Auto Close Policies page is displayed.

From Auto Close Policies, select Auto Close Incidents.The POLICY - AUTO CLOSE SERVICE REQUESTS screen is displayed.

Enter below information:
| Field | Description |
|---|---|
| Request Type | Type of the request. |
| Name | Auto-close policy name. |
| Tickets Resolved Exceeding | Inactive interval of a resolved incident beyond which the incident needs to be closed. |
- Click SAVE to activate auto close.
Alert Heal by Incident
The Alert Heal by Incident setting provides synchronization between incidents in your ITSM tool and alerts in OpsRamp.
- When enabled in Service Desk settings, if an incident in the ITSM tool is resolved or closed, the corresponding alerts in OpsRamp are automatically healed.
- This helps in cases where an incident is closed in the ITSM platform, but the alerts remain active in OpsRamp.
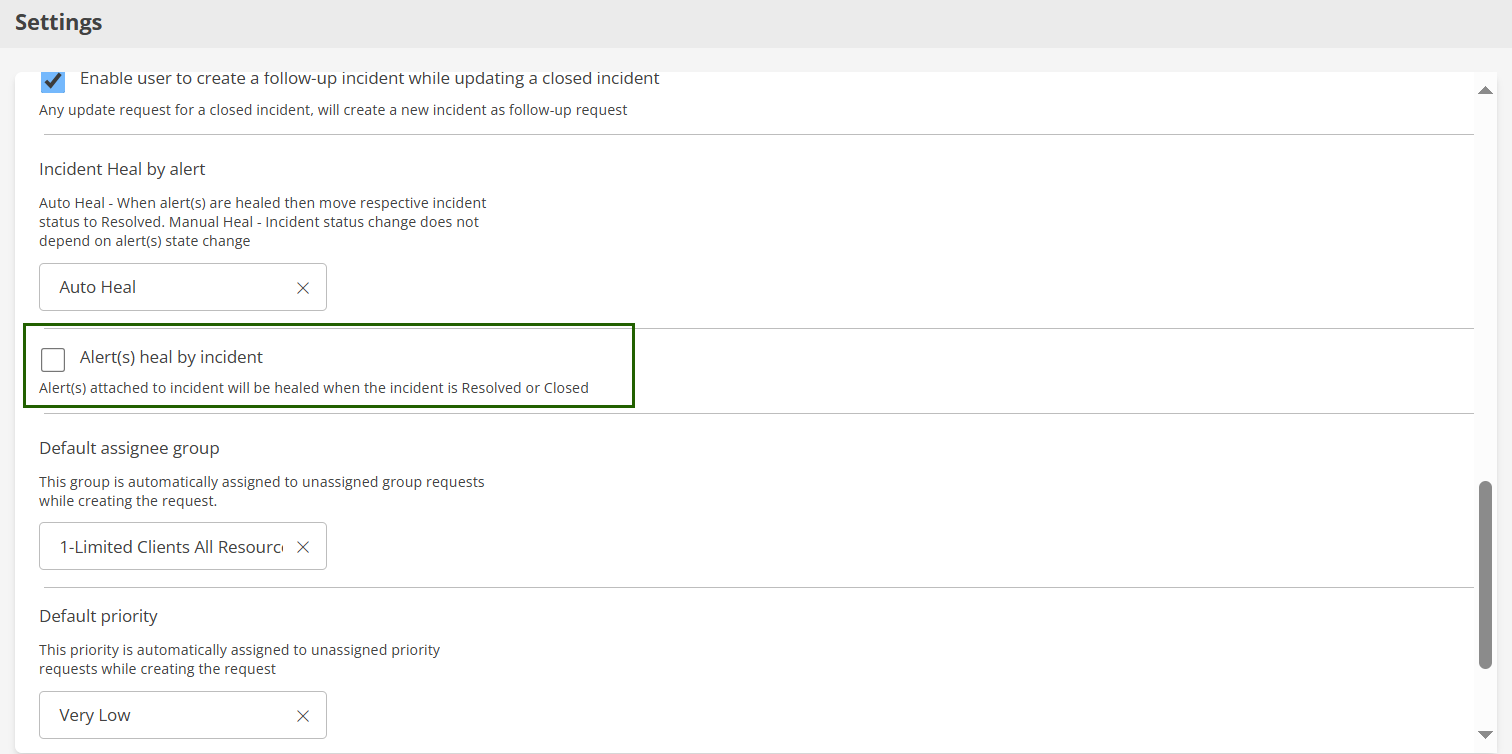
Enable Alert Heal by Incident
- Navigate to Setup > Account > Service Desk.
- In the Settings page, navigate to the Incident tab.
- Locate the Alert(s) heal by incident option.
- Select the checkbox to enable.
- Click Save to apply your changes.Once enabled, any incident resolved or closed in the ITSM tool will automatically heal the related OpsRamp alerts.
View OpsRamp Process & OpsQ Bot Comments in Notes
Users can view the OpsRamp Process and OpsQ Bot comments under the Incident Notes section.
Prerequisite
You need to enable the Enable alert comments to incident notes property under Service Desk settings to be able to view the comments under notes.

You need to search for the incident for which the alert comments to incident notes option are enabled.